Last updated on
Here’s how you can build a small garden shed in your backyard using your common woodworking tools in a nutshell. Read on!
You’ve decided that you’re going to take up DIY and try your hand at some woodworking projects so you’ve gone out and got yourself a solid selection of tools. That’s great, and I suspect you won’t regret it.
DIY is a fantastic hobby to have. It’s active and usually outdoors so you will get some exercise and fresh air, it gives you a chance to work on some very valuable skills such as problem-solving, persistence, planning and will also allow you to flex your creative muscles.
And it can cut down on the costs of your home because you can avoid having to hire professionals for maintenance and repairs and can spend less on certain items of furniture which you can just make yourself instead. You’ll be giving your home a personal touch too.
But you need somewhere to store all of your tools and materials. It can be difficult to find a good place for them in the house, and leaving them outside in the garden could result in weather damage.
The best avenue for storage is a garden shed. And why not use this as an opportunity to work on a project that is both challenging and rewarding? Take those new tools and build a garden shed from scratch.
Here’s how to go about it:
Decide on a Site
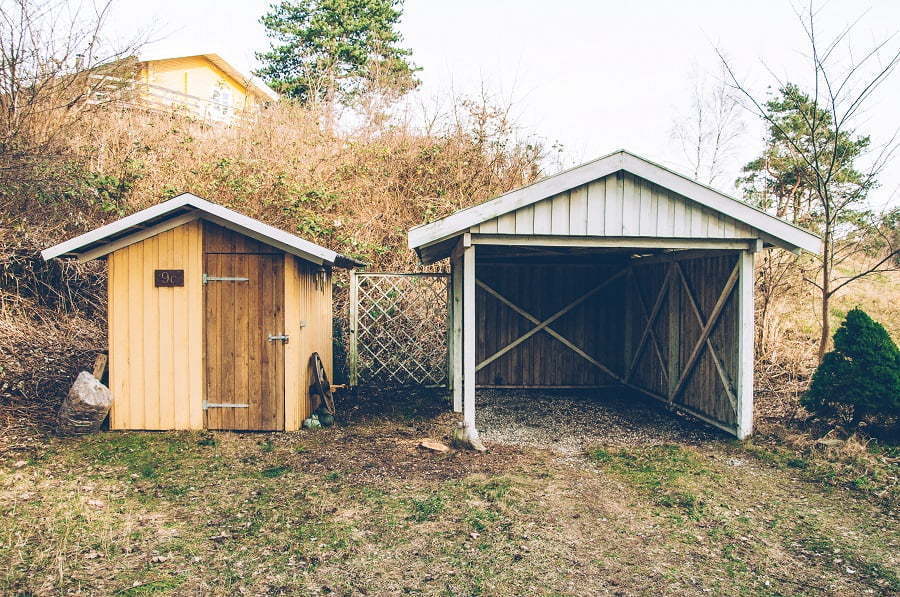
This might not be too difficult especially if your garden isn’t particularly big and you don’t really have much choice in where you build the shed, but there are few things that you still need to keep in mind here.
Firstly, you need to make sure that you are not violating any codes. You need to go through the required channels and discuss with a building inspector to make sure that if there are any setback distances, you are adhering to them.
If there are any, they will likely mean that you just have to keep your shed a bit of distance away from property lines. It may not be an issue at all but it’s important that you check anyway because if you start building in an illegal position and it’s discovered you’ll have to tear it down.
Also, don’t build a shed at the bottom of a hill, because water will collect and rot the wood of the foundations.
Gather Supplies
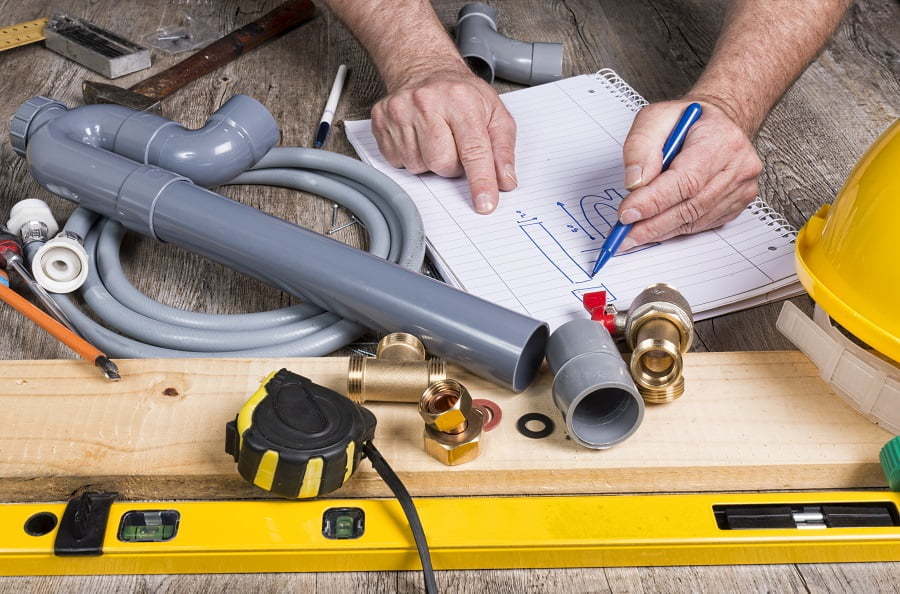
This should be a job that you can do with just a common set of woodworking tools. You will need both a circular saw and a jigsaw, a standard electric drill, a set square, a tape measure and of course, the old reliable hammer.
You’ll also need to get a variety of screws and nails. A Midi lathe might be a good investment if some of your wood needs to be shaped too. And as for the wood itself, you will be cutting most of it to size.
I would suggest investing in pressure-treated plywood and tongue and groove boards. You will also need some concrete blocks for beneath the shed and some compacted gravel which you are going to use for the bed below the floor.
The floor itself can be one large OSB board resting on a wooden foundation frame made of wooden joists or bearers.
Build the Floor

The process of actually building the shed will start with the foundation and the frame. When you’ve decided on the site, you measure the size of the shed you want and then start to clear the area of any debris.
Shift the soil and dirt manually until you have a flat surface to work with. Set eight concrete blocks down at the corners of the site and also in the middle of each wall. Then surround them with about a four inch deep bed of compact gravel to keep them in place.
Whether you build the floor out of joists or bearers is up to you. Bearers would probably be the better option considering you already have a base with the concrete blocks and the compacted gravel.
Use the circular saw to cut the OSB board so that it fits snugly on your foundation and then you have your floor finished.
Build the Frame
The body of the shed will be the longest part of the job. Depending on the overall size there is a few routes you can go here but the best course of action is to build four wooden frames of equal size.
For each wall, cut the plywood into thin boards. Two for the top of the wall and then two for the sides and then three or four that will track the length of the wall and serve as support for the sideboards that you will be creating next.
The frames will take some time to screw together, but they are straightforward. Once you have them built, put them into position and then brace them with square wooden posts for the corners, which you can use the lathe to shape correctly.
So then you need to side the walls and this is where the tongue-and-groove boards will come in. You want to nail these vertically into place along the wall frames. You may of course need to cut some of them to length and you may need to go one and a half to two boards high.
Remember to cut certain boards to a specific length to ensure that you can include a door and some windows. You’ll need to buy these, I wouldn’t advise trying to build a door from scratch. Get them in advance so you can be familiar with the size.
Place the Roof
So by now you’ve got a shed which looks complete but it’s missing one essential component, the roof. The simplest way to construct the roof using common tools is to assemble roof trusses. There are a few different types, and the bowstring or howe trusses might be the most straightforward.
You should sketch out a plan for your roof in advance and make sure it’s measured perfectly. It would be a disaster to get the roof sizes wrong. You can then cut the plywood into a variety of different sized boards for the king posts, the vertical posts and the chords.
The trusses need to be fastened together with galvanized steel screws. This will be a long, arduous and repetitive process, and once the truss frame is finished, you need to nail the tongue-and-groove boards into place on the frame.
Once this is done, the shed should be ready for use. It’s a big job, that is at times going to be very complex and time-consuming, but you will feel immensely satisfied to have completed it and you will learn so much that will help you a lot in future woodworking projects.
Related reading:

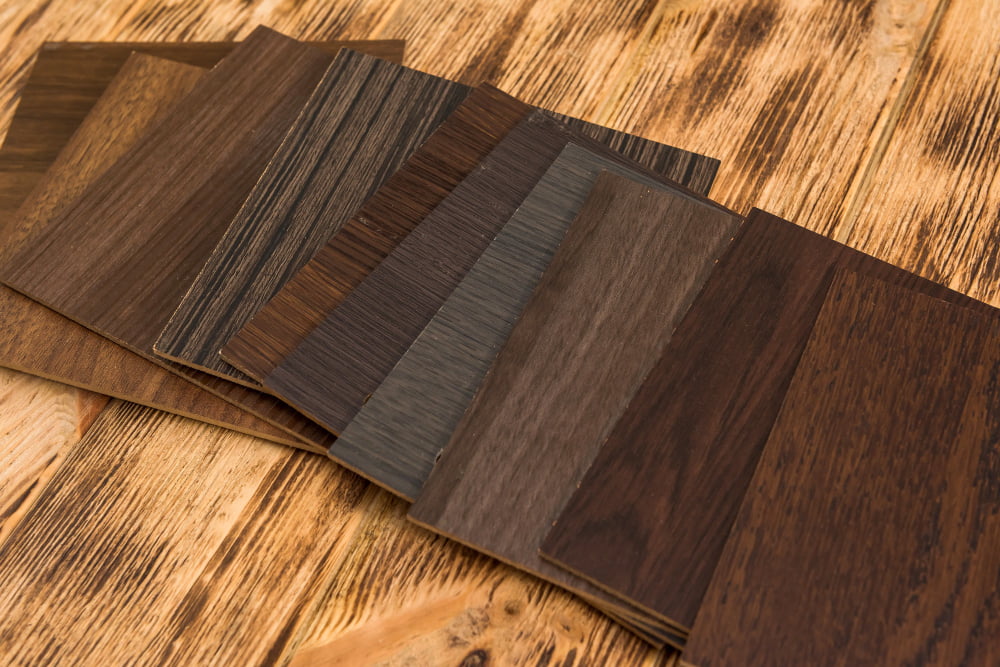


Table of Contents