Last updated on
If you’re tired of those little annoyances in your bedroom that need repairing, you may not need to call in the cavalry. With just basic DIY skills, there are a number of home repairs you can complete yourself.
From silencing squeaky floorboards to swapping broken closet door knobs — here are some easy-peasy repair hacks that’ll turn your home headaches into triumphant tales.
Squeaky Floorboards: The Silent Treatment

So, you’re creeping around for a midnight snack, and suddenly—squeak! That noisy bedroom floorboard is totally giving away your ninja moves. Let’s silence that telltale creak with some DIY stealth action.
First things first, locate the chatty plank by tiptoeing around until it squeals.
Got it? Sweet. Next, remove any carpet if necessary and look for the nearest nail or screw securing the board to see if it’s loose. If you’re seeing nails, it’s time to gently hammer them back down into their original glory days’ position. Got screws? Grab a drill and tighten them up snugly against the subfloor.
No more hardware visible? Time to introduce new companions! Pilot holes are your friend—drill them at an angle towards a joist and then sink in some trim-head screws that disappear beneath the surface.
Boom! You’ll be able to stroll across your floor anytime without making that dreaded creaking noise.
Patching up Drywall like a Pro
Ever accidentally dented the wall moving furniture or flung open a doorknob that went rogue? Those pesky holes in drywall are staring you down, but fear not! This isn’t something that should have you dialing up professionals; it’s a DIY moment.
Start by scraping away any loose debris around the hole for a clean area to work with.
Next, slap on a self-adhesive drywall patch — these things are clutch because they save time and hassle. Once it’s on there, nice and smooth, grab some spackle and apply it over the patch using a putty knife. Take your time to feather out the edges, blending them into the wall seamlessly.
Once that puppy dries (patience is key), lightly sand it for ultra-smoothness. Then simply finish off with matching paint.
Replacing Closet Door Knobs
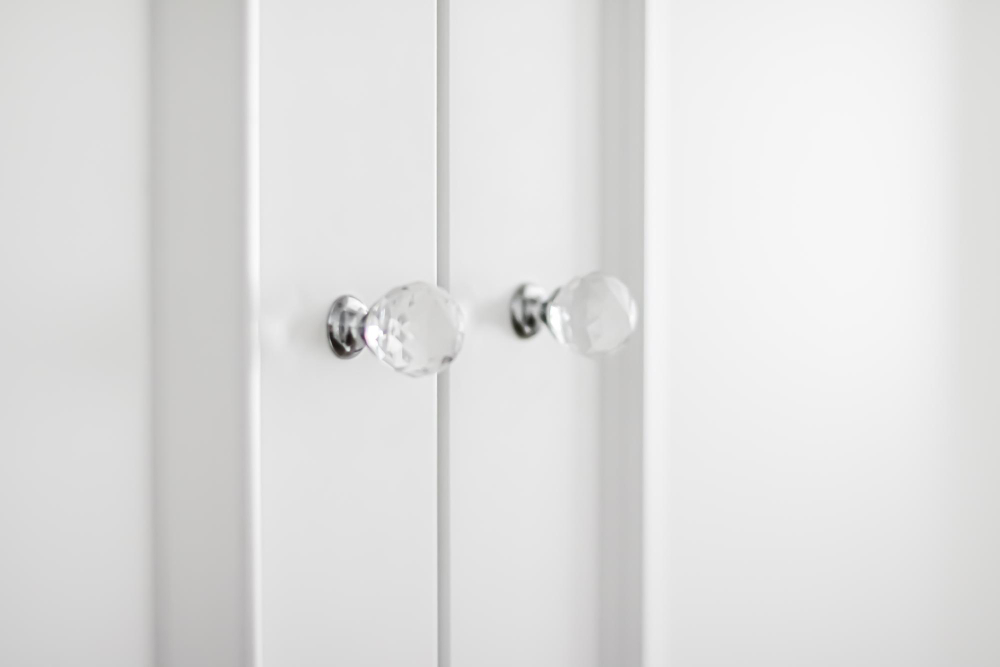
So, those bedroom closet door knobs have seen better days, huh? Whether they’re broken or just outdated, replacing them is one of the easiest DIY fixes to do.
Grab a screwdriver and show that old knob the door (pun intended). Unscrew the screws holding it in place, which are usually found on the side of the knob facing the interior of the closet. Then, gently pull both sides of the knob apart and remove them from the door.
With your new closet door knobs at the ready, feed them into position, while aligning any screws with their designated holes. Tighten until snug—no need for Hulk strength—and check that both sides are secure and aligned.
Just like that, you’ve got fancy fresh closet door knobs and doors ready to swing open at your whim!
Fixing a Stubborn Drawer That Won’t Glide
Lastly, let’s tackle that bedroom drawer that’s putting up a fight every time you try to get it open. It’s usually down to wonky sliders or a bit of gunk buildup.
So, clear out your drawer and remove it from the chest so you can see the slides. Check them out—any noticeable dirt or old crumbs? Show them the way out with a good wipe-down.
Next up, if things are looking clear but still not sliding like butter, grab some lubricant — silicone spray works wonders. Apply it sparingly along the tracks and slide them back and forth to distribute evenly.
Pop the drawer back in place — et voilà! Smooth sliding restored, no more wrestling matches with your wardrobe. Now you know how to fix those simple home repairs, you might be interested in learning about these easy bedroom upgrades for better sleep.
Related reading:
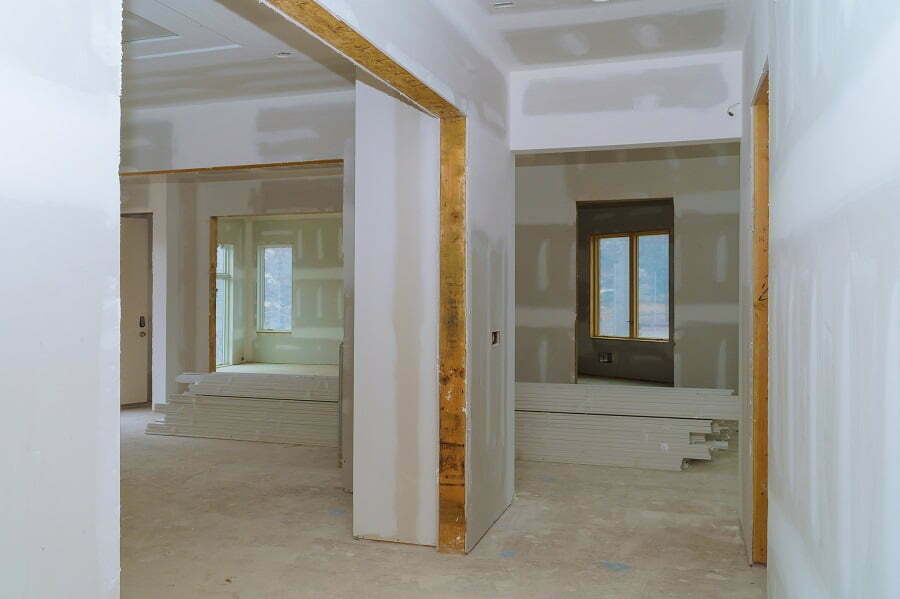


Table of Contents