Last updated on
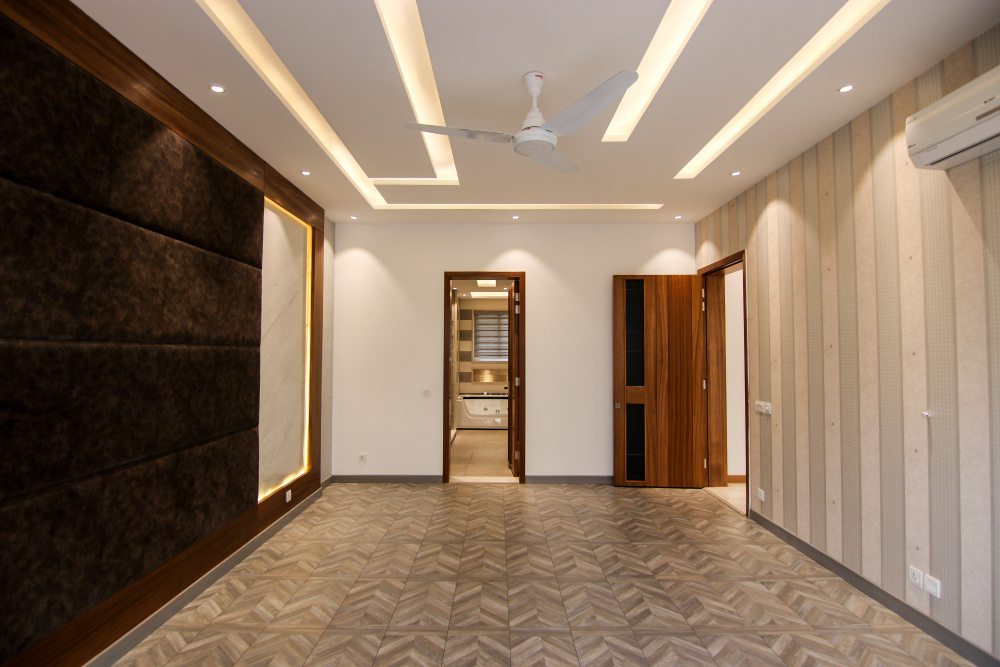
Installing ceiling panels is one of the jobs that combines aesthetic appeal and functionality while upgrading a home. This homeowner-centric guide seeks to demystify the intricacies of this project, enabling a smooth journey from simple ceilings to a stunning overhead panorama.
Preparatory Steps: Setting the Stage
Tools and Materials: The Arsenal Required
Beginning this venture calls for the collection of a variety of tools and materials. Among these essentials are a good ladder, a quality drill, screws, a tape measure, a chalk line, and, naturally, the ceiling panels of your choosing. It is also impossible to overstate the importance of safety gear.
Room Readiness: Laying the Groundwork
The process will go more smoothly if the room is prepared before the first panel is lifted. The area has been cleared and decluttered for the task at hand by removing fixtures and furniture and covering the floor with drop cloths.
Measuring Twice: This Phase Is Not Included.
The importance of accuracy at this stage cannot be overstated. Accurate measurement of the ceiling area will indicate the amount of materials needed, eliminating the possibility of a shortage of materials in the middle of the project. Using a tape measure and a chalk line to mark the alignment of the panels guarantees accuracy in the following steps.
The Installation Dance
Finding the middle of the ceiling and drawing a guideline using the chalk will ensure a balanced finish. This first action is key for a uniform look.
Ascending the Panels: A Choreography in Steps
After the necessary preparations, the panels can now be installed. Place the first panel, starting in the centre, precisely in line with your chalk lines and fasten it with screws. Make sure that every panel fits snugly against the next as you proceed from the middle outward with each panel.
Navigating Challenges: Hints and Tips

Obstacles and Solutions: The Troubleshooter’s Handbook
Meeting obstacles like light fixtures or vents is unavoidable. In these, marking and cutting panels to the right sizes with accuracy is what makes the finish look professional. Here, patience, and attention to detail are your friends.
The Finishing Touches: Closing the Deal
After all the panels are totally fixed, you can install trim or molding at the edges to cover any irregular gaps, thus giving a neat finish to the whole project. This last touch improves the beauty and also the structural integrity of the entire piece.
Maintenance: Ensuring Longevity
After installation, routine maintenance and cleaning of the ceiling panels will help to maintain their good look and identify any possible issues before they have a chance to become a problem. A light dusting or vacuuming is enough for most panel types to remain clean.
The Takeaway
To this guide, it is evident that ceiling panel installation is a DIY project for the keen homeowner. With the correct tools, systematic procedure, and a bit of waiting, converting a ceiling into a statement piece is not only a dream but also a reality. With this guide, the process of moving from the planning to the finishing stages will be as smooth as the surface of your new ceiling panels.
Related reading:


Table of Contents