Last updated on
Timber frame pavilions are beautiful, functional outdoor structures that can enhance any property. Whether you’re looking to create a cozy gathering space or a striking focal point for your garden, building a timber frame pavilion can be a rewarding project.
This guide will walk you through the essential steps to construct your own timber frame pavilion.
Planning and Design
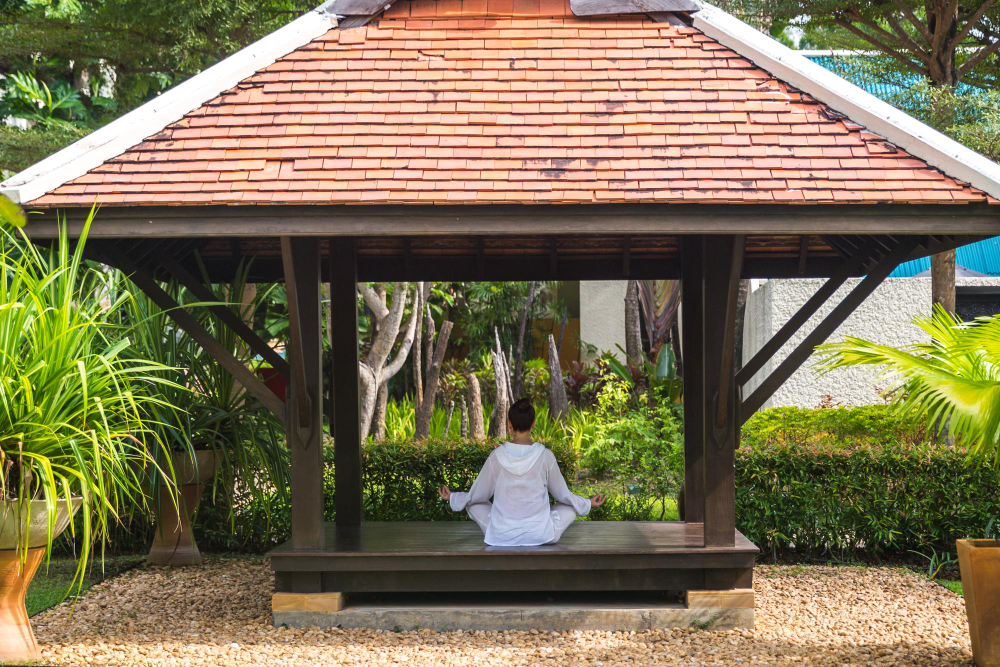
Before you begin construction, it’s crucial to have a solid plan in place. Consider the following:
- Purpose: Determine how you’ll use the pavilion (e.g., dining area, meditation space, outdoor kitchen).
- Size: Decide on the dimensions based on your available space and intended use.
- Style: Choose a design that complements your home and landscape.
- Materials: Select appropriate timber species and other materials.
If you want help building your dream pavilion, reach out to Homestead Timber Frames for all of your pavilion needs.
Obtaining Permits and Approvals
Check with your local authorities to ensure you have the necessary permits and approvals before starting construction. This step is essential to avoid potential legal issues down the line.
Site Preparation
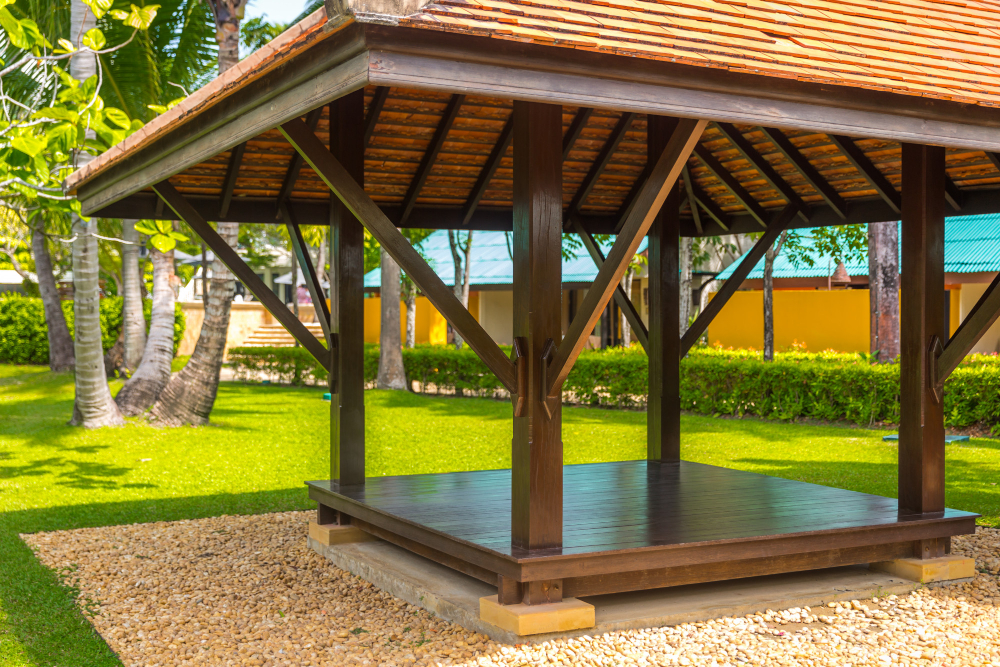
Proper site preparation is crucial for the longevity and stability of your pavilion. Follow these steps:
- Clear the area of vegetation and debris.
- Level the ground and ensure proper drainage.
- Mark the pavilion’s footprint and excavate for the foundation.
Foundation Construction
A solid foundation is the key to a sturdy pavilion. Options include:
- Concrete piers
- Slab foundation
- Frost-protected shallow foundation
Choose the most appropriate foundation type based on your local climate and soil conditions.
Timber Frame Construction
This is where the beauty of timber framing really shines. If you’re new to timber framing or want to ensure a professional result, consider working with experts like Homestead Timber Framing. They specialize in creating stunning timber frame pavilions that can elevate your outdoor space.
The basic steps for timber frame construction include:
- Cutting and preparing the timbers
- Assembling the bent (vertical frame section)
- Raising the bents
- Installing the top plate and tie beams
- Adding rafters and purlins
Roofing
Choose a roofing material that complements your pavilion’s design and provides adequate protection from the elements. Options include:
- Metal roofing
- Cedar shakes
- Slate tiles
- Synthetic materials
Ensure proper installation to prevent leaks and maximize the roof’s lifespan.
Finishing Touches
Once the main structure is complete, add finishing touches to enhance your pavilion’s functionality and aesthetics:
- Install lighting fixtures
- Add seating or built-in benches
- Incorporate decorative elements like carved brackets or custom joinery
- Consider flooring options (e.g., stone pavers, wooden decking)
Maintenance
To keep your timber frame pavilion looking great for years to come:
- Regularly inspect for signs of wear or damage
- Clean the structure periodically
- Apply protective finishes as needed
- Address any issues promptly to prevent further damage
Building a timber frame pavilion is a significant undertaking that requires careful planning, skill, and attention to detail. While DIY construction is possible for those with carpentry experience, many homeowners choose to work with professional timber framers to ensure a safe, beautiful, and long-lasting result.
Remember, a well-built timber frame pavilion can become a cherished part of your property, providing a space for relaxation, entertainment, and connection with nature for generations to come.
Table of Contents

