Last updated on
The height of an Accessory Dwelling Unit (ADU) is typically measured from the initially undeveloped ground level to the highest point of the structure excluding chimneys, antennas, and similar fixtures.
The process of measuring the height of an Accessory Dwelling Unit (ADU) can vary depending on local regulations, but typically, it’s measured from the highest point of the structure down to the lowest finished grade level beneath it.
This process involves understanding different aspects such as grade levels, building points, and related zoning laws.
Keen to unearth more details? As we delve deeper into this topic, you’ll uncover the underlying principles of this procedure, its significance, and other important elements that come into play – a comprehensive package to make you well-versed in the arena of height-measuring for ADUs.
Key takeaways:
- Height is measured from the ground to the highest point, excluding certain fixtures.
- Measure from finished or natural grade level depending on regulations.
- Consider roof style, height limits, and excluded features when measuring.
- Understand local zoning regulations and classifications.
- Access and utilize online resources for ADU planning and permits.
Definition of Accessory Dwelling Unit (ADU) Height
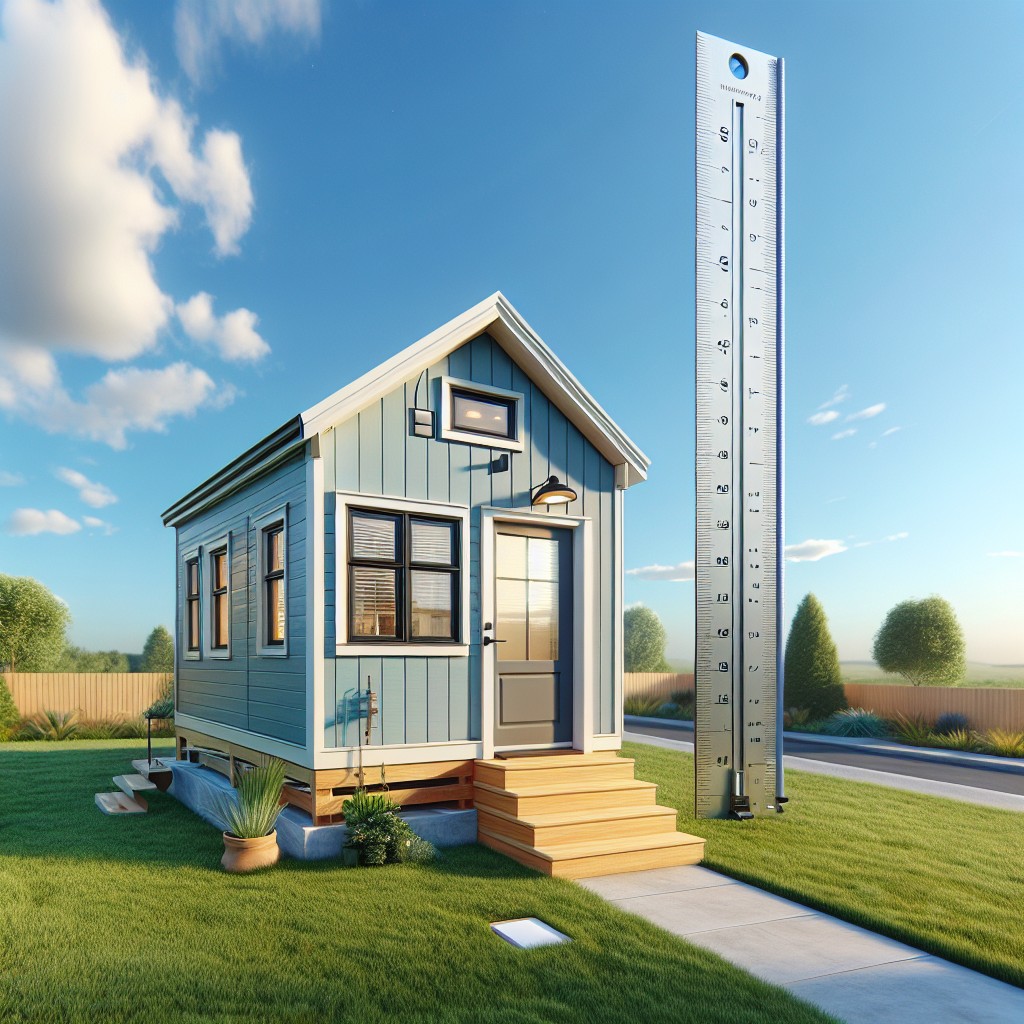
When discussing the height of an Accessory Dwelling Unit, we’re referring to the vertical distance from a specified starting point, typically the existing grade, to the highest point of the structure. This could be the peak of a pitched roof or the flat surface of a roof deck for ADA units with flat roofs.
Several points to consider about ADU height include:
- Starting Point for Measurement: It’s crucial to establish whether the height is measured from the finished grade (the ground level after construction is complete) or the natural grade (the untouched ground level).
Roof Style Consideration: The peak of a gable roof or the top of a parapet for flat roofs might be the determinants for the total height. Structures with varied roof heights may have additional guidelines to determine the overall height calculation.
Height Limits: Local zoning typically imposes maximum height limits to maintain a harmonious neighborhood character and to ensure privacy and access to daylight and views for surrounding properties.
Measure to the Correct Point: Be aware of what architectural features, if any, such as chimneys, vents, or antennas, may be excluded from this measurement.
By understanding these aspects of ADU height, one can ensure their design complies with local standards, potentially avoiding costly modifications later on.
Understanding Local Zoning Regulations for ADU Height
Navigating local zoning regulations is critical for determining the permissible height of your Accessory Dwelling Unit (ADU). Here are key points to consider:
1. Check with Local Authorities: Each municipality has distinctive guidelines that dictate the maximum height of ADUs. This information is typically found in the municipal zoning code or through contacting your local planning department.
2. Understand the Context: Zoning regulations often take into account the type of ADU (detached, attached, or inside the primary residence), its location on your property, and neighborhood context. Certain areas may have restrictions to preserve aesthetics or historical character.
3. Zone Classification Matters: Residential zones can have different height regulations compared to mixed-use or commercial zones. Identify the zoning classification of your property to apply the correct standards.
4. Height Measurement Standards: Familiarize yourself with how height is measured in your area—whether from grade level, midpoint between eaves and peak, or another method.
5. Factor in Exemptions and Incentives: Some localities offer height exemptions or incentives for incorporating sustainable features or providing affordable housing. Check if you can benefit from these provisions.
6. Consider Future Changes: Stay informed about proposed changes to local regulations. Engaging with community planning meetings can provide foresight into updates that might affect future ADU projects.
By thoroughly understanding these regulations, you can design an ADU that is both in compliance with legal standards and attuned to the needs of your community.
Methodology for Measuring ADU Height
When determining the height of an ADU, several key factors come into play. The point from which the height is measured is known as the “base point” and can vary by locality. Typically, it’s the natural or existing grade, not the artificially altered ground level.
Here’s a step-by-step approach:
- Identify Base Point: Check local regulations to find the precise base point definition — it could be the lowest point within a certain distance from the ADU or the average between the highest and lowest grade.
- Measure Ground Elevation: Use a laser level or surveyor’s transit to establish the ground elevation around the proposed ADU site.
- Determine Peak Point: The highest point of the ADU, often the top of the roof or ridge line, is the peak point for measurement.
- Vertical Distance Calculation: Measure the vertical distance straight up from the base point to the ADU’s peak point to find your height measurement.
- Consider Roof Pitch and Equipment: Remember to include any rooftop equipment or architectural features in your height calculation.
- Consult Elevation Drawings: Use your ADU’s elevation drawings to double-check calculations, as these should document the ADU’s height relative to grade.
By carefully following these steps and adhering to your local guidelines, you can accurately assess your ADU’s height, ensuring it aligns with zoning and building regulations.
Impact of ADU Height On Design and Planning
The height of an ADU significantly shapes its architectural character and functionality. Here’s how:
1. Space Optimization: Taller ADUs can allow for lofts or additional floors, increasing living space without expanding the building’s footprint.
2. Privacy Concerns: When designed with height in mind, ADUs can protect privacy for both the occupants of the primary residence and the ADU, particularly in dense neighborhoods.
3. Aesthetic Alignment: Matching the ADU’s height with existing structures ensures a cohesive visual flow within the property, enhancing curb appeal.
4. Solar Access: Height considerations impact the shadows an ADU casts, affecting natural light availability and solar panel effectiveness for the ADU and neighboring homes.
5. View Preservation: Thoughtfully planned ADU height can preserve scenic views, maintaining property value and neighborhood harmony.
6. Ventilation and Light: Higher ceiling heights can improve air circulation and daylight penetration, creating a more comfortable and energy-efficient interior environment.
7. Regulatory Compliance: Adhering to height restrictions helps smooth the permitting process, avoiding delays and potential redesign costs.
Each of these points hinges on strategic planning during the ADU design phase to create a structure that meets needs and complies with regulations while contributing positively to the living environment.
Tools for Accurate Height Measurement
Having the right instruments is essential to ensure precision when measuring the height of your ADU. A laser distance measurer is a common tool for this task, enabling quick and exact measurements, even over longer distances. Traditional tape measures can also be effective, especially for shorter spans or interior dimensions, but require a steady hand and accurate placement.
For more complex sites or designs, a transit level or a theodolite, which combines a telescope with precise vertical and horizontal angle measurement capabilities, may be necessary. These are especially useful when determining height in relation to a specific datum point, a common requirement in zoning regulations.
GPS devices provide another high-tech option, often employed in surveying land for larger development projects, where pinpoint accuracy in relation to geographical coordinates is critical. However, for most ADU projects, a laser distance measurer or a high-quality tape measure will suffice.
Regardless of the tool chosen, it’s crucial to familiarize yourself with its operation and limitations. Careful calibration and a methodical approach to measurement will yield the best results, keeping your ADU project on track and up to code.
Challenges in ADU Height Measurement
Accurately gauging the height of an Accessory Dwelling Unit can present several hurdles:
- Varied Slopes: Uneven or sloping ground can lead to discrepancies in height readings, requiring careful consideration of the highest and lowest natural grade points.
- Existing Structures: When adding onto or converting parts of an existing building, incorporating its features without exceeding height limits can be complex.
- Roof Designs: Different roof styles – flat, pitched, gabled – affect measurement endpoints, while features like skylights add another layer of consideration.
- Diverse Measuring Points: Determining whether height is measured to the midpoint of a sloped roof, the top of a parapet, or another reference point can be confusing without clear guidance.
- Overhead Obstacles: Trees, overhead wires, or adjacent buildings might limit the potential height of an ADU or the methods available for measurement.
- Municipal Variances: Cities may have unique requirements or interpretive guidelines that impact how height is calculated, making local codes a vital reference point.
Best Practices for Ensuring Compliance With Height Requirements
To guarantee that your accessory dwelling unit adheres to height regulations, careful planning and consistent communication with local authorities are critical. Begin by thoroughly reviewing your city or county’s zoning code, which outlines the maximum allowable height for ADUs. Collaborate closely with an architect or designer familiar with local zoning laws; their expertise can be pivotal in crafting a compliant and aesthetically pleasing structure.
Always integrate the height measurement process into your project timeline, avoiding last-minute adjustments that could derail completion. Engage a professional surveyor if the topography of your land is complex, ensuring the base elevation point from which the height is measured is accurate.
Stay proactive throughout the construction phase. Schedule regular check-ins to measure progress against the approved plans. This will help to catch and correct any potential deviations early on.
Lastly, be aware of non-structural elements such as chimneys, antennas, or landscaping features that can influence the perceived height of your ADU. These, too, should adhere to regulations to avoid any complications during the final inspection.
Role of Budget in ADU Construction and Height Consideration
Budgetary considerations are pivotal when constructing an ADU, influencing design choices, materials, and height. The correlation between height and cost often dictates feasibility, as taller ADUs may require more robust materials and engineering, potentially ratcheting up expenses.
Here are some key points to understand:
- Taller structures might incur additional costs due to more sophisticated foundation requirements and structural supports to ensure stability.
- Height can affect the type of roofing and the quantity of materials needed, impacting overall expenditure.
- Building upwards can sometimes be less expensive than expanding the footprint, provided that zoning allows and the existing structure can support the additional weight without extensive retrofitting.
- Adhering to height regulations helps avoid costly revisions or fines, emphasizing the importance of a well-planned budget that accounts for these compliance aspects.
- In some cases, higher ADUs could entail extra costs for privacy and shading solutions for both the ADU inhabitants and neighboring properties.
In your financial planning, a careful assessment of the height-related costs is crucial to strike a balance between your desired ADU attributes and the funds at your disposal.
Steps for Hiring a Designer for Your ADU
Begin by identifying your specific needs and preferences for the ADU, considering elements such as size, budget, and desired features, to communicate effectively with prospective designers.
Research local designers with ADU experience by exploring online portfolios, reading customer reviews, and seeking recommendations from your community.
Prepare a list of questions addressing the designer’s experience, design philosophy, and project management approach, as well as their familiarity with zoning laws and green building practices.
Schedule consultations with your top candidates to assess their communication style, compatibility with your vision, and ensure they have a clear understanding of height restrictions and other regulatory requirements for ADUs.
Request and review bids or proposals, which should include a detailed scope of work, project timeline, cost estimate, and understanding of permit processes.
Review the designer’s previous ADU projects to analyze their creative solutions for height constraints and how they integrate form with function.
Discuss the potential for 3D modeling or virtual walk-throughs to better visualize the design, especially how the proposed height integrates with existing structures and surrounding landscape.
Once you’ve selected a designer, ensure clarity on contract terms, deliverables, compensation, and protocol for any necessary design changes during the project.
Maintain open and continuous communication throughout the design process to handle any adjustments swiftly, particularly those concerning height regulations and design features.
Accessing and Understanding ADU Standard Plans
When exploring standard plans for your ADU, it’s crucial to find resources that align with local building codes. Numerous cities provide pre-approved, publicly accessible templates, tailored to streamline the design process and ensure regulatory compliance.
- Look for city or county websites that host a library of standard ADU plans; these can often be downloaded free of charge.
- Standard plans generally include various layouts and sizes, accommodating different lot specifications and homeowner needs.
- Pay attention to the detailed annotations on these plans regarding height restrictions to ensure your chosen design fits within legal parameters.
- Consider the plans’ adaptability for your specific site, accounting for topography and existing structures.
- Note that even standard plans may require some modification or consultation with a professional to meet particular site conditions or to incorporate personalized features.
- Utilize these plans as a starting point for discussions with contractors or architects and to aid in understanding the scope of your ADU project.
Overview of the Permit Requirements for ADU Height
Navigating the permitting process is crucial before construction begins. Local authorities typically have predefined criteria that dictate the maximum allowable height for ADUs, often based on the zone, lot size, and existing structures. To ensure your project adheres to these guidelines:
- Identify specific zoning laws for your property by consulting with your local planning department or accessing their online resources.
- Be prepared to submit detailed plans that include elevations showing the proposed ADU’s height relative to existing structures and grade.
- If your ADU is intended to be above a certain height, say two stories, you may need to provide additional documentation or engage with a public notification process.
- Consider the impact of your ADU’s height on neighbor’s privacy and views, as these factors can sometimes influence permit decisions.
- Height restrictions may also involve considerations for emergency access, such as ensuring adequate clearance for fire trucks or ambulances, which can be a decisive factor for approval.
Engage with the permitting process early, and address all height-related requirements to smooth the way for your ADU project.
Navigating Electronic Plan Review for ADUs (ePlanLA)
Once your ADU plans are ready and you understand the height measurement requirements, the next step is to submit your plans for review. In Los Angeles, ePlanLA is the digital system used for electronic plan submission and review. Here’s how to navigate it effectively:
- Prepare Digital Documents: Make sure your architectural plans, including height measurements, are digitized in PDF format for easy upload.
- Create an Account: Sign up for an ePlanLA account to gain access to the portal where you can manage your submissions.
- Follow Submission Guidelines: The ePlanLA portal has specific guidelines for naming and organizing files. Adhere to these to avoid delays.
- Track Your Review: ePlanLA allows you to monitor the status of your plan review process in real-time, providing transparency and time frames.
- Respond Promptly: If corrections are requested, use the system for resubmission and clarifications to maintain momentum in the approval process.
Utilizing ePlanLA streamlines the review of your ADU plans, ensuring that the aspects of height and other regulations are evaluated efficiently.
Utilizing Online Resources for ADU Planning (TacomaPermits.org)
TacomaPermits.org offers a wealth of information streamlined to support your ADU project from start to finish. The site presents guidelines that specify height restrictions along with other zoning regulations pertinent to your area.
Users can find interactive tools to help visualize their ADU in relation to their existing property, ensuring that all planned structures are within the permissible height limits. The website also provides access to permit applications and submission procedures, making compliance with local height regulations a smoother process.
With TacomaPermits.org, you can efficiently research, design, and apply for the necessary approvals, with the confidence that your ADU’s height conforms to local codes.
FAQ
What is the ceiling height for an ADU in California?
The minimum ceiling height for an Accessory Dwelling Unit (ADU) in California is 7 feet as per the California Building Code.
How tall is a 2 story ADU?
A 2 story ADU can be up to 25 feet tall if attached, or 18 feet if detached, with possible additions of 2 feet if the roof pitch matches the primary dwelling.
What are the new laws for ADU in California 2023?
In California 2023, ADU related regulations were revised, allowing height restrictions to be relaxed – attached ADUs may reach up to 25 feet or match the height of the main house (whichever is lower), while those positioned within a ½ mile of public transit can have a height up to 18 feet.
How close to a fence can you build an ADU?
You can build an Accessory Dwelling Unit (ADU) 4 feet away from a fence, as per the state law.
What are the specific setbacks for ADUs in Californian municipalities?
The specific setbacks for Accessory Dwelling Units (ADUs) in Californian municipalities often include strict zoning laws, expensive permit processes, minimum lot size requirements, and mandatory off-street parking regulations.
What are the height and size limitations for detached ADUs according to California law?
In California, the law stipulates that detached Accessory Dwelling Units (ADUs) can be up to 16 feet in height and have a maximum size of 1,200 square feet.
What municipal zoning restrictions could impact ADU construction in California?
In California, municipal zoning restrictions that could impact ADU (Accessory Dwelling Unit) construction include property size, parking requirements, unit size limits, owner occupancy requirements, and restrictions on the number of bedrooms or occupants.
Want More?
 11 Sprinkler Maintenance Tips For Sustainable Lawns
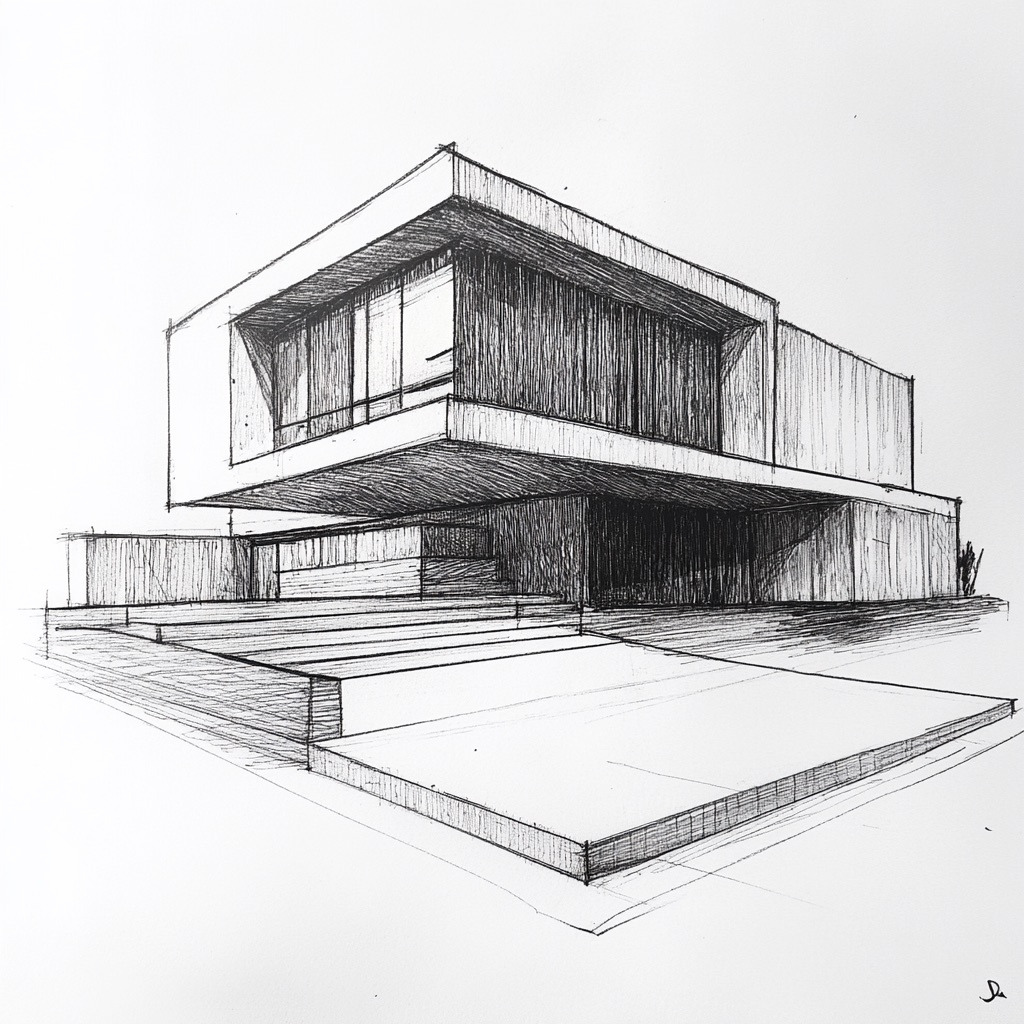 Why AI is Essential for the Future of Building Design
 The Positive Impact of a New Thermostat on Home Comfort
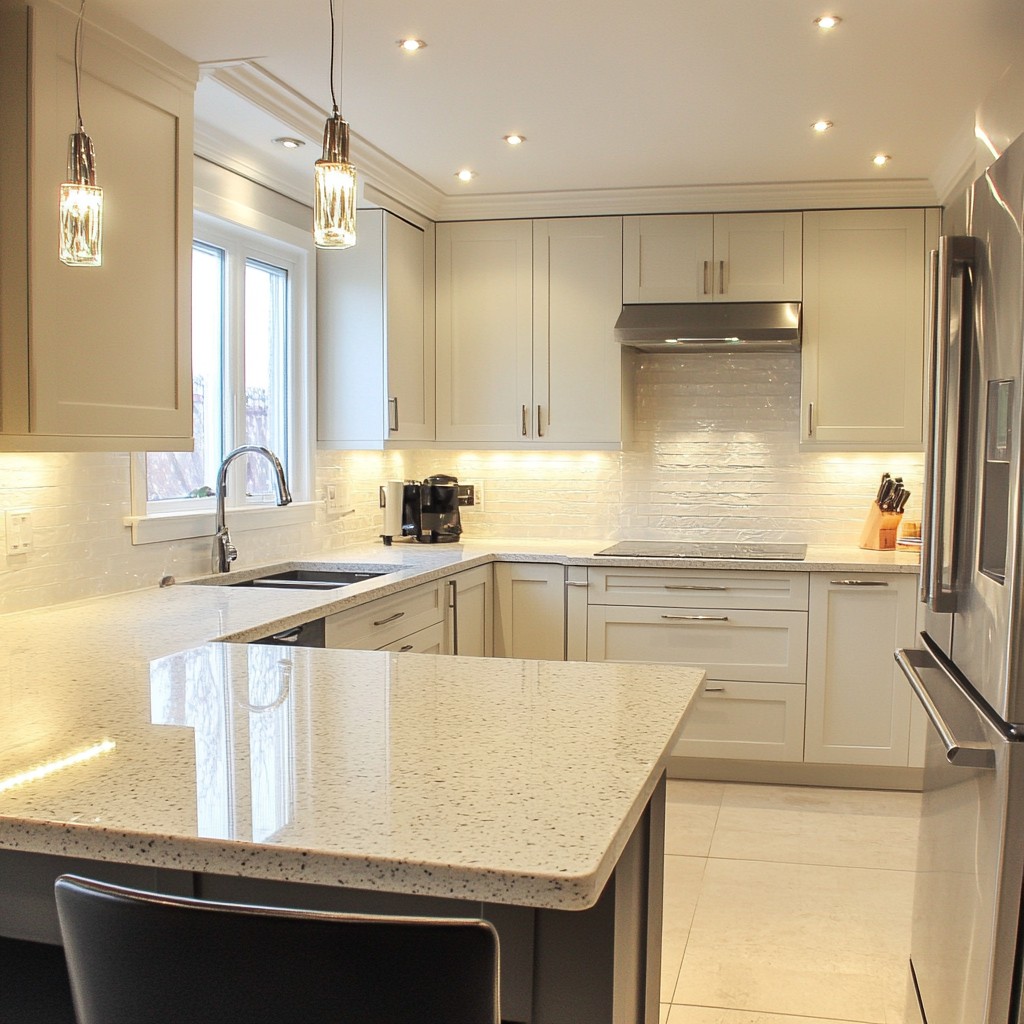 The Open Concept vs. Closed Kitchen: Which Is Right for You?
 Seasonal Tips For Proper Exterior Maintenance
Table of Contents